| MacHouse Software |
Last updated: February 19, 2011
|
| OrganizeX - User's Guide |
Using OrganizeX Lite and OrganizeX
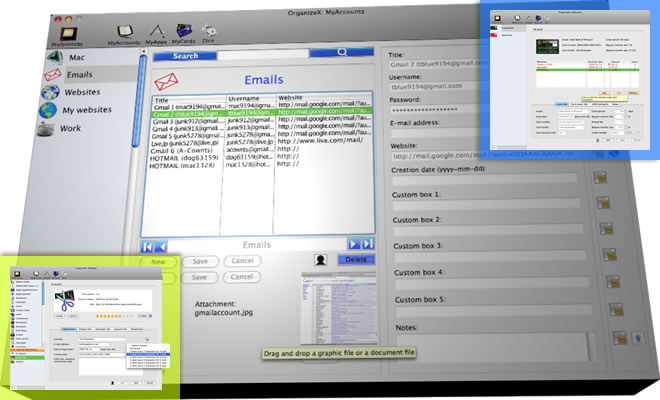
2. MyApps
In order to store license information, you must have an application for that software license (that must be installed) in the first place. Otherwise, you should switch back to MyAccounts. For example, if you want to store Final Cut Pro's license information, then you must have this application somewhere on your terminal or a backup device. Therefore, the very first task of storing software license information for a particular application is to create an application profile, which is equivalent to MyAccounts' category. When you first switch to MyApps, OrganizeX will quickly access the Applications folder and then list all applications inside it. That is, MyApps will automatically create application profiles for some applications. Select any application file in the list to the left, and MyApps will show its version, date & time of creation and an absolute path to it. Find two buttons right below the top application info box. If you click on the Locate button, the Applications folder will pop up with the selected application highlighted. If you click on the Launch button... Well, you can guess what will happen next, can't you?
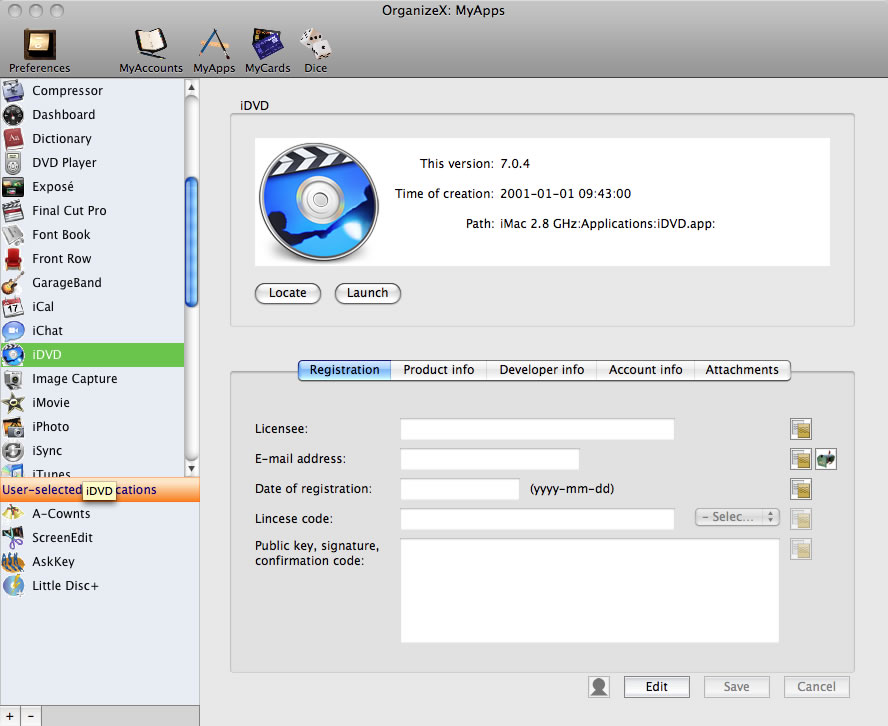
We know that the Applications folder can't be the only location where your applications are installed. If you have more applications elsewhere, you need to locate them one by one by clicking on the Add button at the bottom left corner of the screen. Simply, click on it, and navigate to the location of your application and click on the Open button.
MyApps will let you store all kinds of application information like license code, developer's address, a username & a password associated with the application. OrganizeX users can attach up to three files to each application.
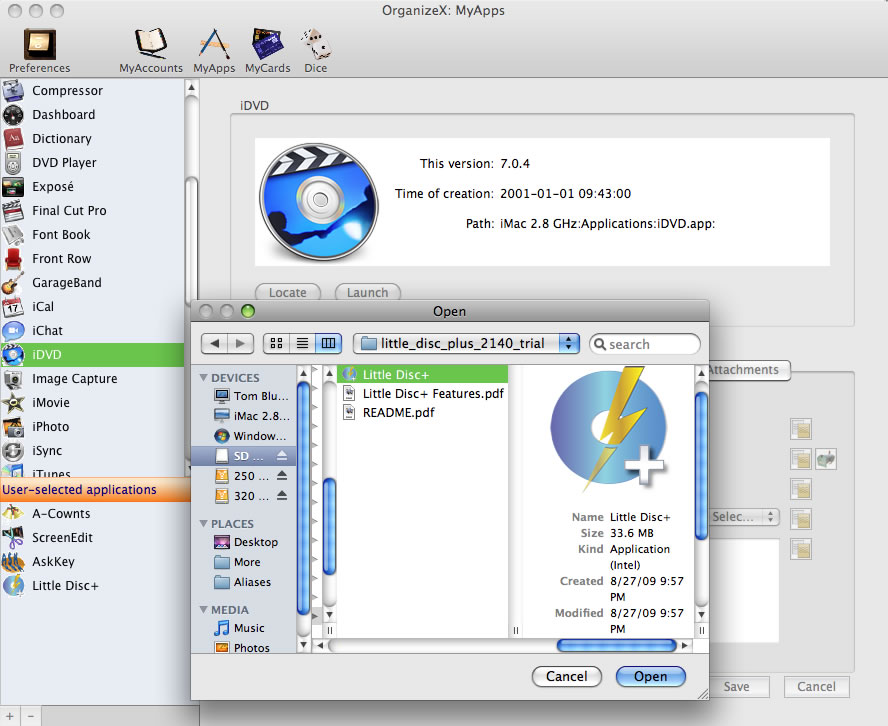
An interesting feature of MyApps is that users can rate their applications. Click on the Edit button at the bottom after selecting a particular application in the Application list to the left. And all data field boxes will become accessible. Also, a pop-up menu will appear right at the bottom of the application info box.
In order to attach a file, first, click on the Edit button. After clicking on the Attachments tab, press the Set new button. Unlike MyAccounts, there is no dragging & dropping. You must locate the file to attach with the Open folder window. Again, just because you see a resized image on the preview window, that doesn't mean the file you have selected is already saved. Nothing will be finalized until you press the Save button. Moreover, the same file extensions from MyAccounts apply to MyApps. So MyApps reads both image and document files. The only requirement for storing accounts under MyAccounts is that every account must have a title, right? Under MyApps, each application license must have a licensee name. Actually, if a rating is already is done, then this requirement will be waived.
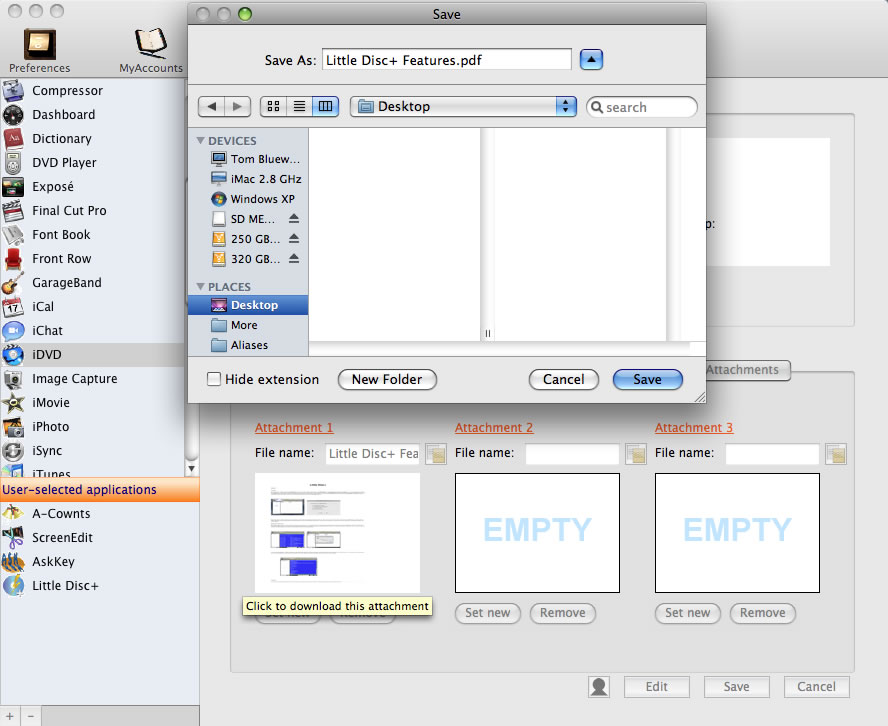
Finally, just as before, in order to recover an attachment file, simply hit the preview window once. And a Save Window thing will pop up. Now, you just need to decide where to save the file.
|

| << Previous page | Next page >> |