| MacHouse Software |
Last updated: February 19, 2011
|
| OrganizeX - User's Guide |
Using OrganizeX Lite and OrganizeX
1. MyAccounts
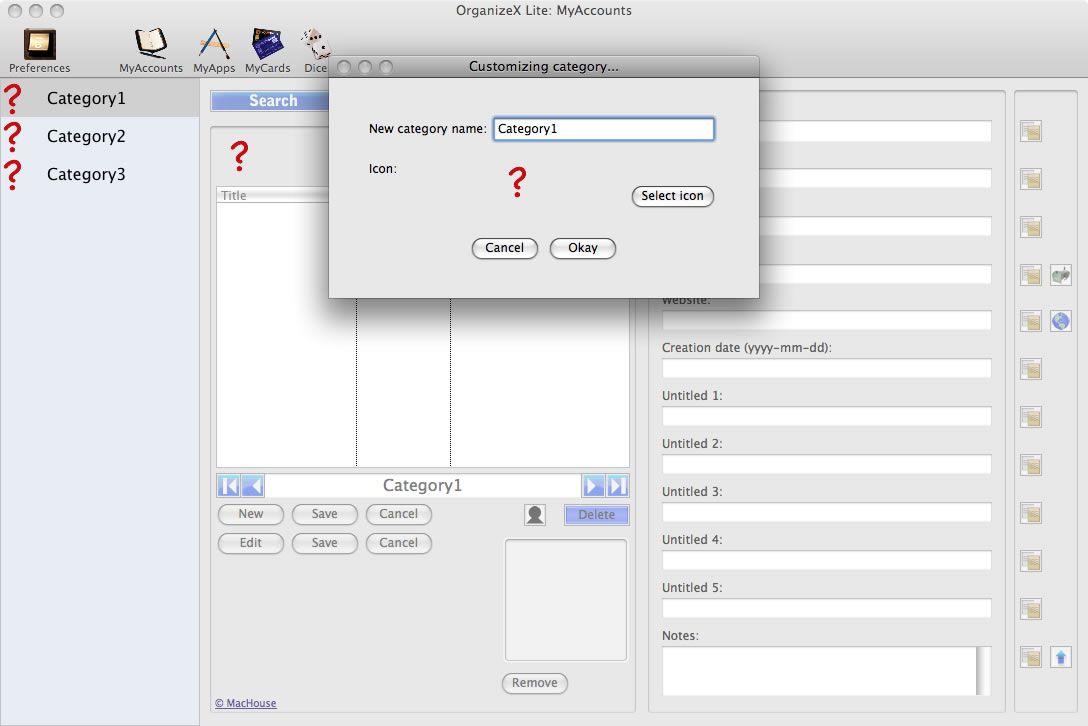
If you are familiar with A-Cownts, our freeware title for Mac and Windows, you should have no trouble with MyAccounts. MyAccounts is the chief component of OrganizeX. Every time you launch OrganizeX, it's MyAccounts' screen that you see. If you are still using A-Cownts, we advise you to import data to OrganizeX. Simply, choose Import Data from A-Cownts under File. Then? Just wait for a second or two. And OrganizeX will import data for you swift and easy. Make sure you choose A-Cownts' data file with a file extension of acw. Whether you import data from A-Cownts or not, the first thing you want to do with MyApps is to set categories. Move your Mouse pointer over to the listbox to the left. If you are using OrganizeX Lite, you should see three question mark icons. Double-click on any of them to rename the category. If you don't like the default icon, click on the Select icon button in the next screen.
If you are using the full version, you should have a totally blank category list to the left. Simply, click on any row. Actually, the topmost row is associated with the first category, so you should click on the very top one when you launch OrganizeX for the first time. OrganizeX users have access to 79 iChat icons plus more than 60 additional icons to customize their account categories.
Now that you must have defined several categories, let's see how you can record an account. First, choose a category where you want to record an account. Let's say that you want to register an e-mail account. The screenshot below happens to show a category titled 'Emails.' Click on it. And the account box at the center will switch to this category and list all accounts that are registered under this category. Click on and highlight this box, and two buttons below will be activated. The New button is used to enter a new account while The Edit button is used to edit an existing account that you have selected in the account box.
OrganizeX users are able to attach a file to each account, whether the account is a new one or an existing one. Simply, drag and drop a file onto the imagewell thing at the bottom. Acceptable file extensions are
If an attachment file is a graphic file, the imagewell thing will display a resized preview of it. If it's a document file, it won't show a preview. Instead, you will see an alternative graphic shot that says 'Screenshot Unavailable.' If the image resolution is too small to fit the imagewell thing, you will see this image as well. Remember that an attachment file will not be recorded until you click on the Save button. Furthermore, it is important to note that OrganizeX only sees acceptable file types in terms of extensions, which all must have three letters. OrganizeX will not recognize a file with an extension of jpeg although it reads the JPEG format. In such case, you must manually change it to jpg.
When you register an account, there is one simple requirement. Every account needs a title. Name your account. Without a title, a new account will be rejected whether or not you have all other fields filled. Is the Notes box too small? If it is, simply click on the arrow button, and a bigger window will pop up. Finally, click on the Save button next to New to record all fields you have entered. OrganizeX gives you 50 categories. In order to find a specific category that exists, you can simply use the category list to the left and click on its name. Another way of finding a particular category is to use navigation buttons right below the account box. Press these buttons manually, or press the right-arrow key/ left-arrow key on your keyboard to switch categories.
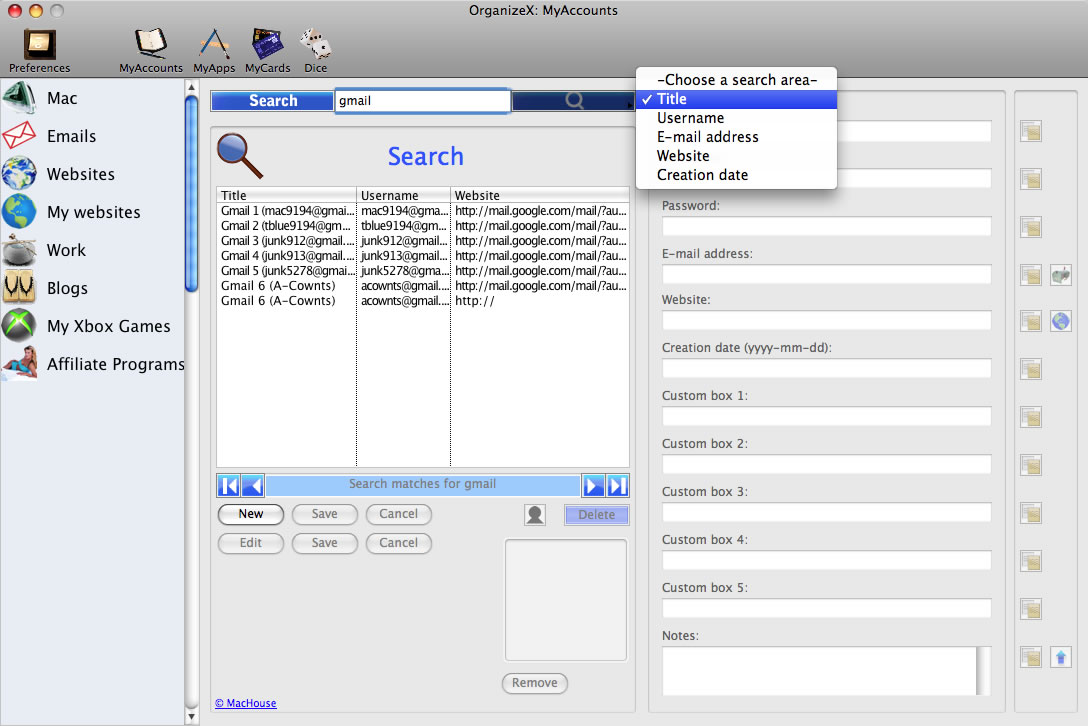
In order to locate a particular account, it will be better if you use the search function at the top. Click on the magnifier button first to intiate a search. Then this button will expand to the right with five search areas to choose from. Choose one of the fields under which you want to run a search. Then enter a key word in the middle. Finally, press the Search button manually, or hit the return key on your keyboard.
By the way, we talked about how you can attach a file to an account just a minute ago. In order to recover this attachment file, first select the name of the account in the account box. Then click on the Edit button. And you will find out that the Remove button is now activated. Simply, click on the imagewell thing once. And the save file dialogue box will pop up as shown above. So choose a location where to save the file, and press the Save buton.
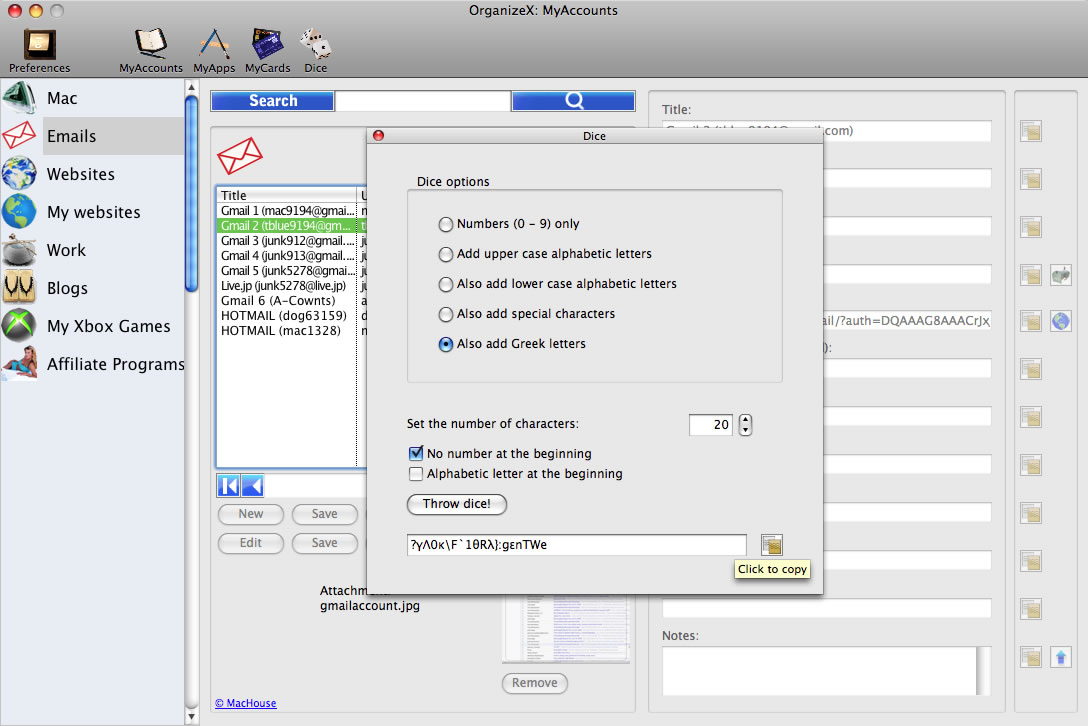
One last thing before moving to MyApps... Remember Dice from A-Cownts? You have it with OrganizedX (and OrganizeX Lite). Dice will let you make up passwords. The maximum length is 999! You can include special characters and Greek letters on top of alphanumeric characters. In order to use Dice, simply click on its icon on the top Toolbar menu. We wanted to display the Dice window in a drawer. But we've faced a serious technical problem in the very last minute. For now, Dice will appear in an independent window.
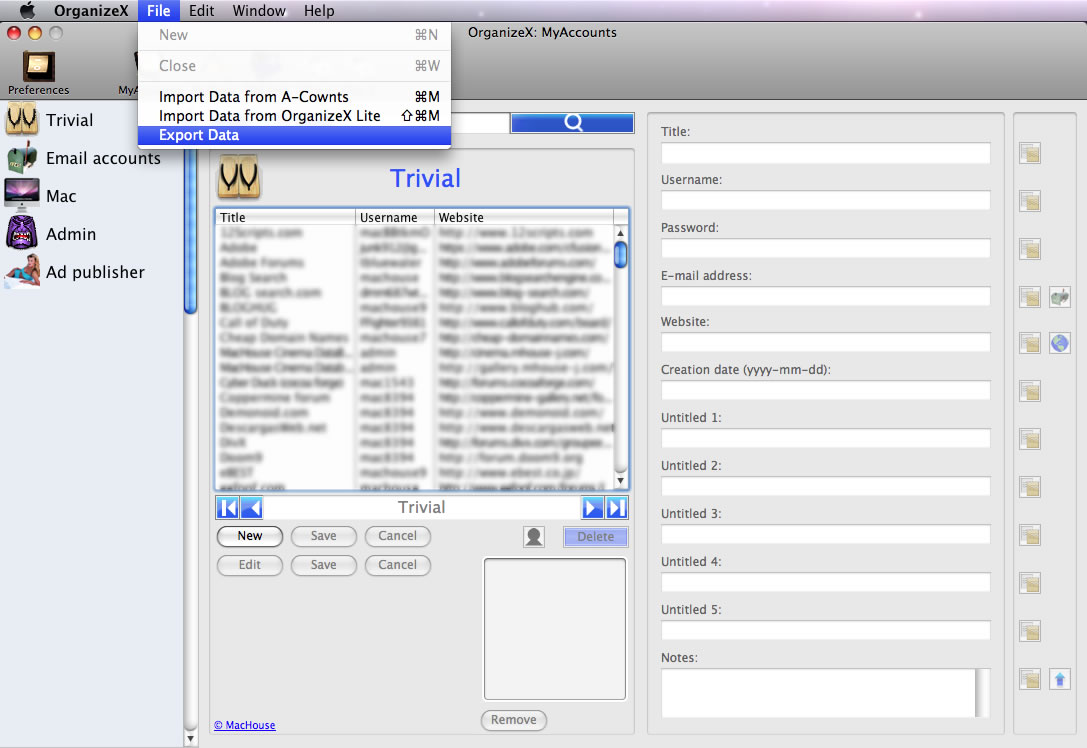
1A. Changes with Version 1.2.3 Licensed users can export data to an Excel sheet. Choose Export Data under File, and a pop-up window will display the whole data except the Notes column. If you choose Export Data under File on this window, you will be prompted to name a file. Then an Excel file will be created.
The exported Excel file will require an appropriate text encoder if the data set contains 2-byte characters including Chinese characters, Japanese characters and Greek letters.
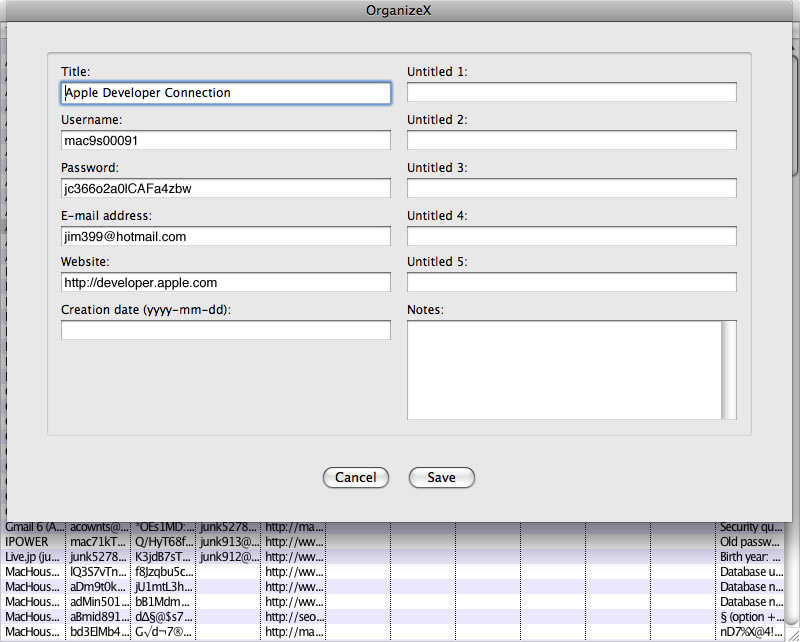
1B. Changes with Version 1.3.3 Sometimes, it will be nice if we can just see the whole data and pick a record to edit. With version 1.3.3, users can see the whole data and edit any record. Choose Edit Aggregate Data under Edit. If you have the OrganizeX login enabled, you will be prompted to enter a password. Then you will be presented with the whole data stored for MyAccounts.
In the next window, all you have to do is click on any row to edit. Another window will spring up. Edit any of the fields in any way. If you click on the Save button, changes will be saved.
|


| Next page >> |