| MacHouse Software |
Last updated: April 07, 2011
|
| SplitMovies - User's Guide |
1. Installing and uninstalling SplitMovies Please read the README file that comes with the application. Or click here to download one. Click here to download license notices. Click here to download a sample audio clip package. (4.0 MB)
What is SplitMovies? SplitMovies allows the user to split a single movie file into multiple independent video clips as opposed to file parts. You can play back these split video clips with the original media player.
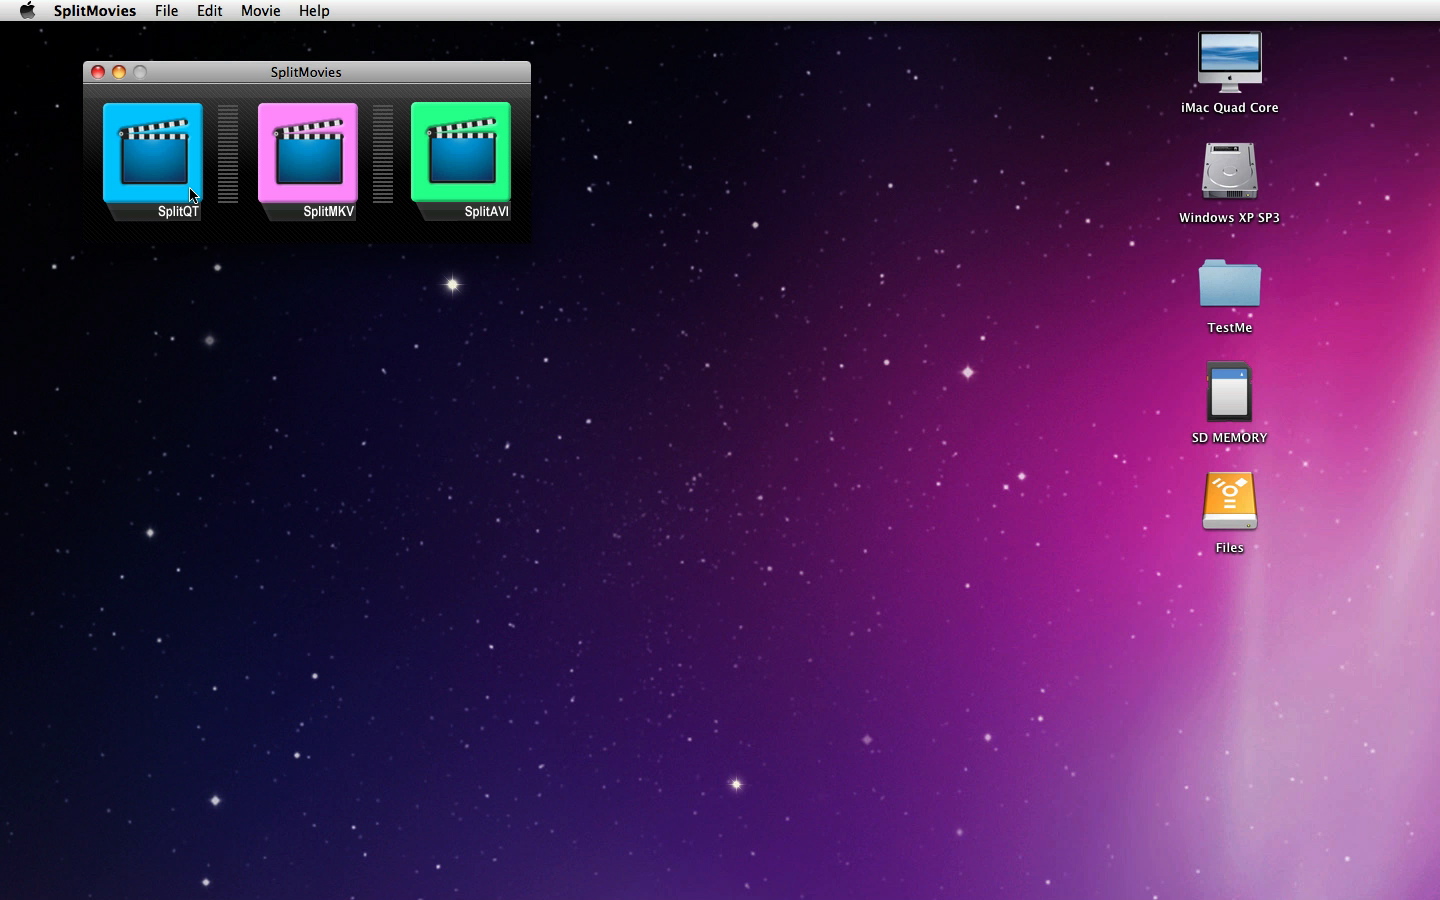
Currently, SplitMovies comes in three parts. SplitQT allows the user to split QuickTime-readable movies (3GP, 3GP2, DV, M4V, MP4, MOV) into multiple clips. Whatever the original media format is, when a movie file is split, resulting video clips will be automatically converted into QuickTime movies (.mov). And SplitMKV and SplitAVI refer to Matroska-container movies and AVI-container movies, respectively.
When you first launch any new application, it's always a good idea for you to open Preferences. Okay, why not? In order to open Preferences, choose Preferences under SplitMovies. (See Screenshot 3-1.)
The first tab is Settings. And you don't have many settings to work on. (See Screenshot 3-2.) Enable Require restart if you want the application to automatically restart itself when you close Preferences window. By so doing, you can make sure your application is updated with the latest changes you've made in Preferences. Moreover, let's take a look at what we have inside the box that is labeled Default export folder. If you want the application to point to a specific folder or volume where to export movie files, click on the Select button. (See Screenshot 3-2.) By default, SplitMovies will automatically set the export destination to Desktop. If your default export folder does not exist at the time of startup, SplitMovies will automatically set the default export folder back to Desktop. Furthermore, you can also select your default movie file name. Click on the Edit checkbox to make the edit field to the left editable. If the file name is unacceptable, it will automatically revert to the system default name is My movie.
SplitQT works with QuickTime-readable formats including 3GP, 3GP2, DV, M4V, MOV and MP4. Again, whatever the original media container is, when a movie file is split, resulting video clips will be automatically converted into QuickTime movies (.mov). In order to use SplitQT, first, click on the left-most button on the main window. (See Screenshot 4-1.)
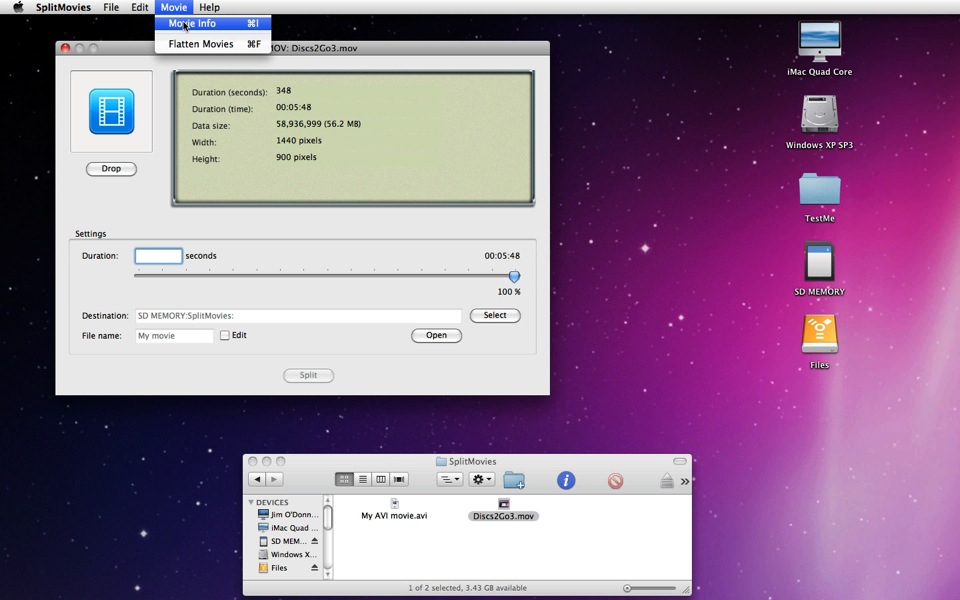
Your next task is to import a movie. Drag and drop a QuickTime-readable video clip onto the drop box as shown in Screenshot 4-2. When you successfully import a movie under SplitQT, the application will read its data, showing basic movie information on the display window. You can also open Movie Info to see the complete movie information on the given video clip by choosing Movie > Movie Info. (See Screenshots 4-3, 4-4) Or press Command + I.
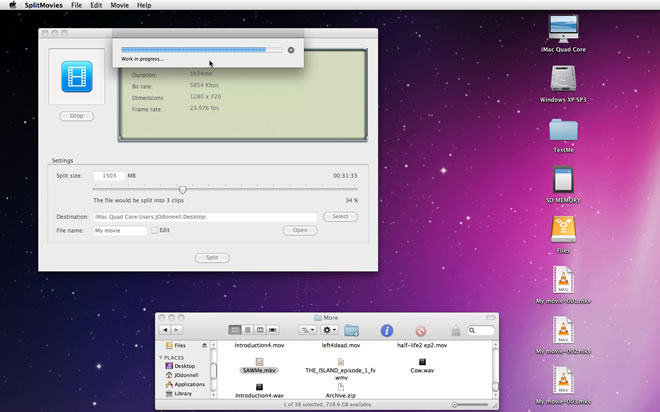
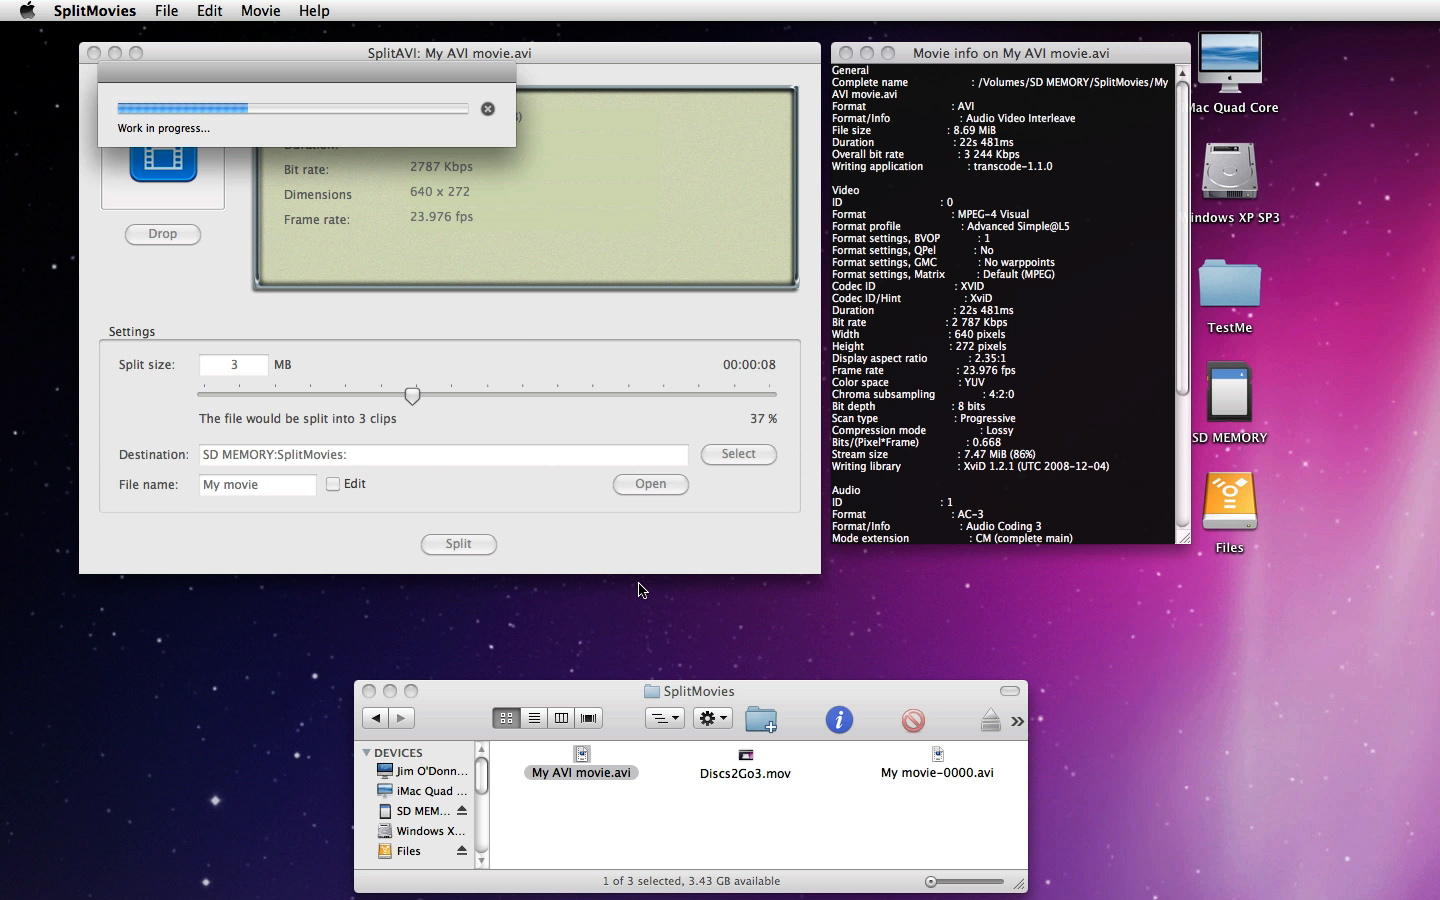
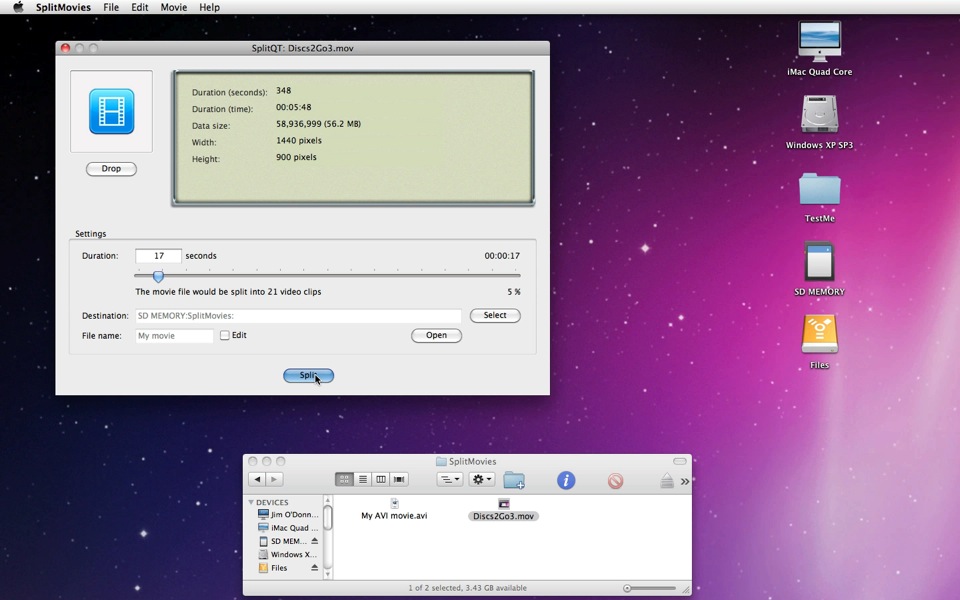
SplitQT is different from SplitMKV and SplitAVI. Under SplitQT, you can decide how to split a single movie file into multiple video clips in terms of the duration of each split clip. As for SplitMKV and SplitAVI, you will get to split a clip in terms of the data size (MB) of each clip. Anyway, manually enter the number of seconds by which you want to split the movie file or use the slider at the center to adjust the split size. SplitMovies will indicate below this slider approximately how many independent video clips you are going to produce. (See Screenshot 4-5.)
Next, set the destination folder where to send split cllips by clicking on the Select button if necessary. Also, set the base file name in the edit field next to the label that says File name. And SplitMovies will name each split clip accordingly by adding an underscore and a counting number starting with 1. Finally, click on the Split button at the bottom of the window. (See Screenshot 4-7.) This button may be disabled for any of the following reasons.
SplitMovies will make a decision in real time as to whether or not it's ready to split a movie file. So when you correct all problems, the Split button will become accessible accordingly.
When you click on the Split button, a progress window will pop up. (See Screenshot 4-8.) Remember that the export process is quite intensive. Although it is possible for you to click on the abort button on the progress window to abort the export process, it will be very difficult for SplitMovies to instantly cancel the process. (That's the case for only SplitQT.)
|