| MacHouse Software |
Last updated: August 19, 2011
|
| AppReady - User's Guide |
There's a menu we haven't mentioned yet. If you look under Window, you have two commands - Show Login and Hide Login. (See Screenshot 2-12) If you choose Show Login, the Login window will pop up to the right. The Login window simply lets you store information that you may use to login iTunes Connect, Developer's discussion board or any web site. Login only stores information, which you may have immediate use of. And you can have quick access to it when you need it. For instance, you can store iTunes Connect user ID, the password and the link to the web site so that you can upload your code-signed packages. Note that AppReady does not virtually utilize a username and a password you may enter here (you are not required to) with or without application user's consent. AppReady can store these values so that you can retrieve them when you need them. Therefore, a username and a password will never be transmitted outside your computer. They will stay within your computer.
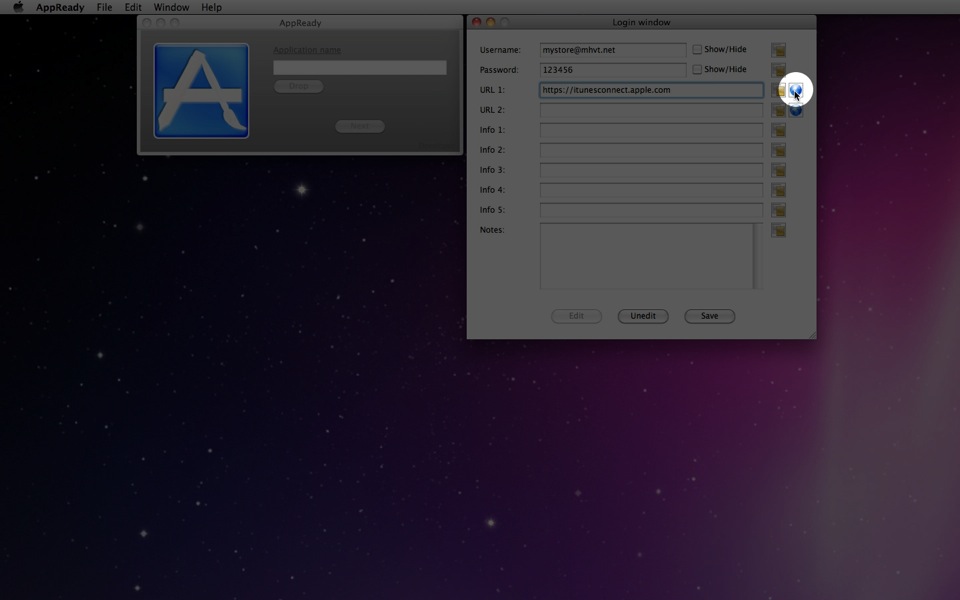
First, notice that all edit fields on this window is set uneditable. In order to edit any of them, click on the Edit button at the bottom. And all edit fields will become editable. If you look at the first two lines, the labels say Username and Password, respectively. These two entries are prepared so that you can store the user ID and the password for iTunes Connect. If necessary, enable the Show/Hide checkboxs to hide the user login and the passoword. (See Screenshot 2-13.)
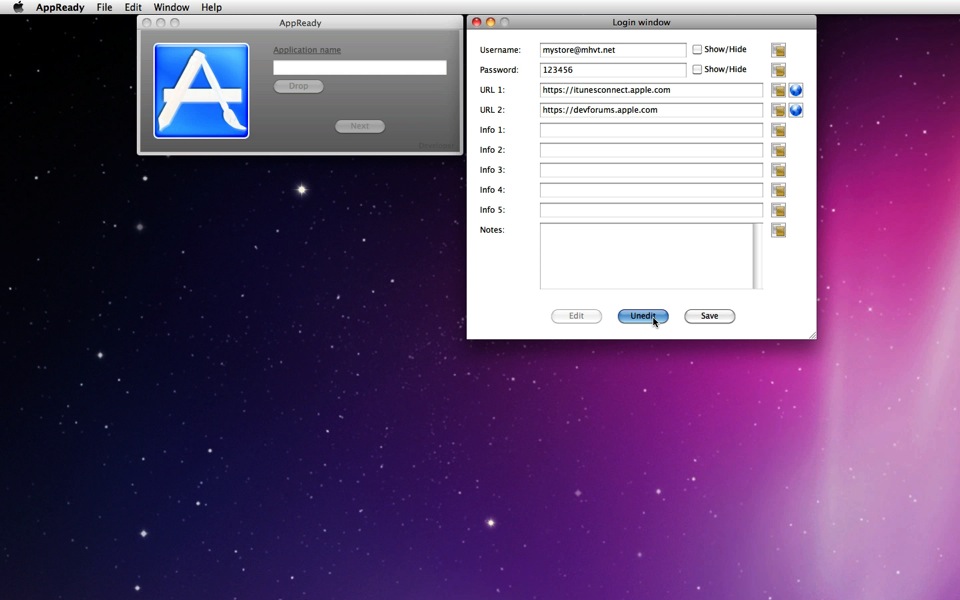
Notice that there are buttons to the right of the edit fields. If you click on any of the (white/yellow) copy icons (See Screenshot 2-14.), the text shown to the corresponding edit field will be copied to the clipboard. That's equivalent to pressing Command + A and then pressing Command + C. Furthermore, if you click on any of the (blue) URL buttons (See Screenshot 2-15.), AppReady will open your default web browser (See Preferences > System files.) to access the URL shown in the corresponding URL field.
Finally, if you are ready to save all changes you've made, click on the Save button at the bottom. (See Screenshot 2-16.) If you close this winsow without clicking on Save, no change will be saved. Or click on the Unedit button to make all edit fields uneditable.
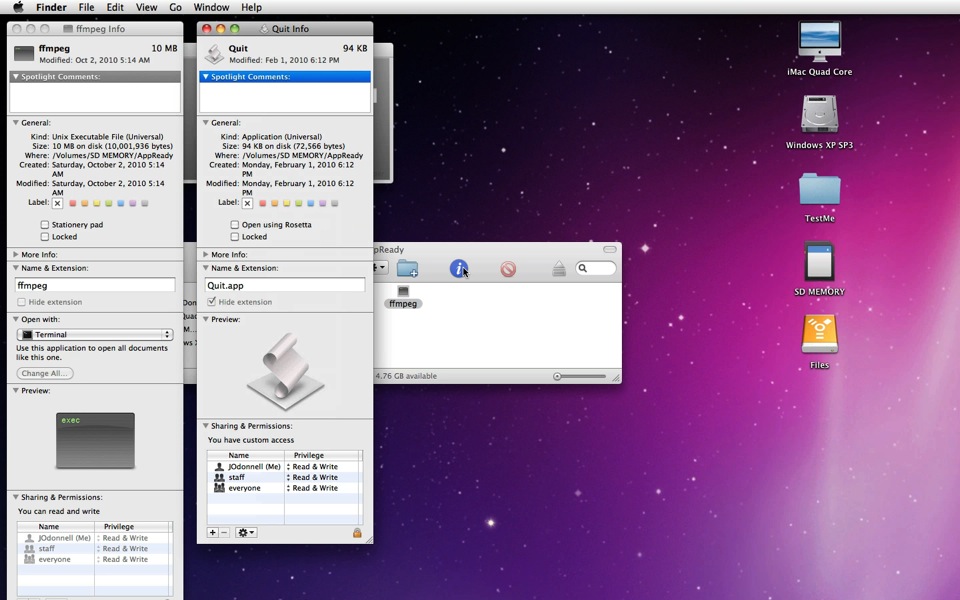
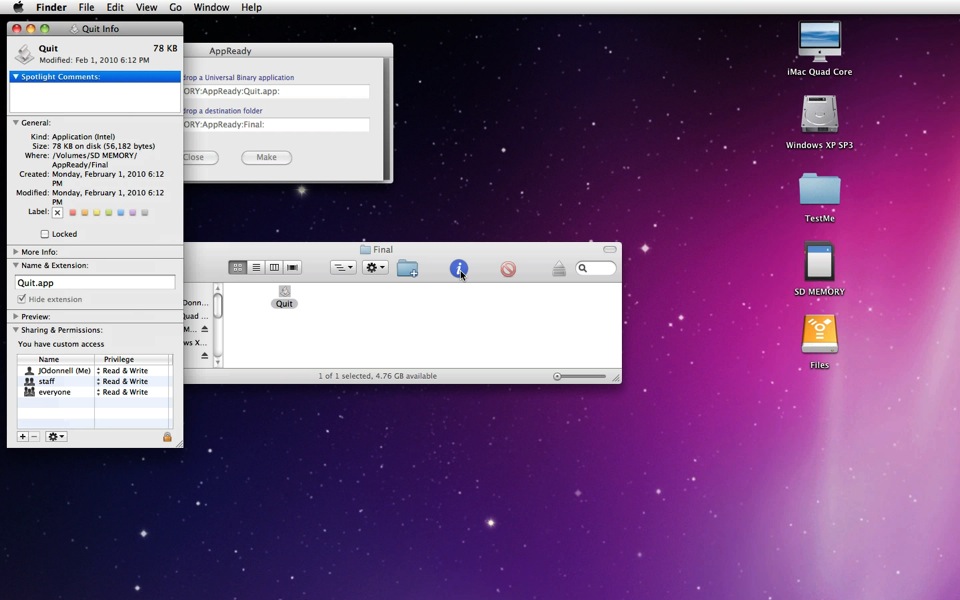
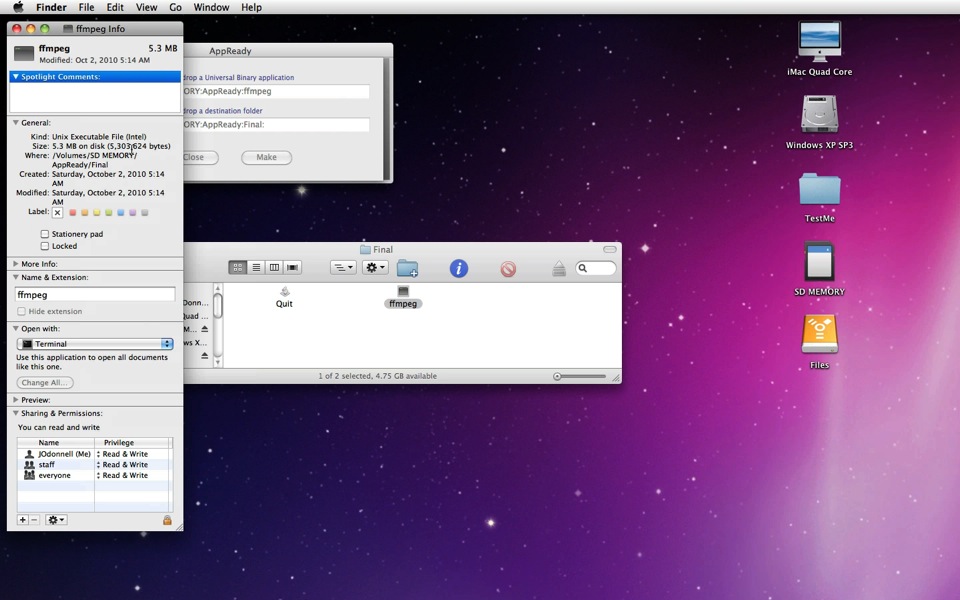
As you probably know, Mac App Store does not accept applications that are in Universal Binary. This rule is extended to command-line tools and AppleScript application that your application may use inside the Package. Make Intel, which is available with Version 1.3, is designed such that you can remove the PowerPC architecture (i386) from a Universal Binary application. As a result, you will end up with an Intel application. For example, Screenshot 2-18 shows a command-line tool and an AppleScript application, which are both in Universal Binary. Using Make Intel, you could turn these applications into Intel apps.
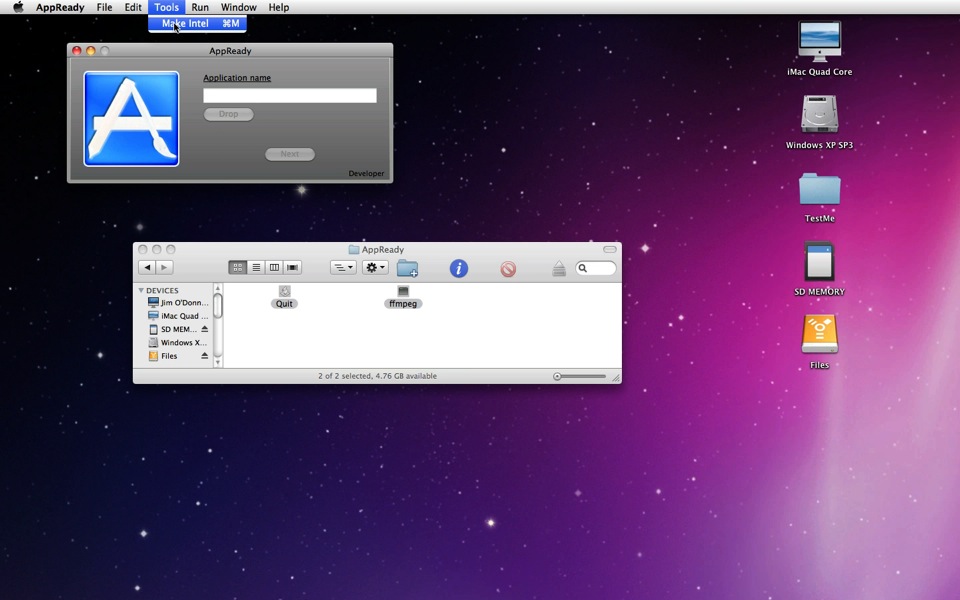
To start with, choose Make Intel under Tools. Or press Command + M while the main window is open. (See Screenshot 2-19.) Now, drag and drop a Universal Binary application directly onto the edit field next to the label that says Application. (See Screenshot 2-21.) This is your source application. Next, drag and drop a folder where to export a final Intel application. This is the destination and cannot be the same folder where the source application comes from. Then simply click on the Make button.
When you press Make, AppReady will remove the PowerPC architecture from the source applicaation and export an Intel application to the selected folder. (See Screenshot 2-22.) If you have a Universal Binary command-line tool, Make Intel works in the same way. (See Screenshot 2-23.)
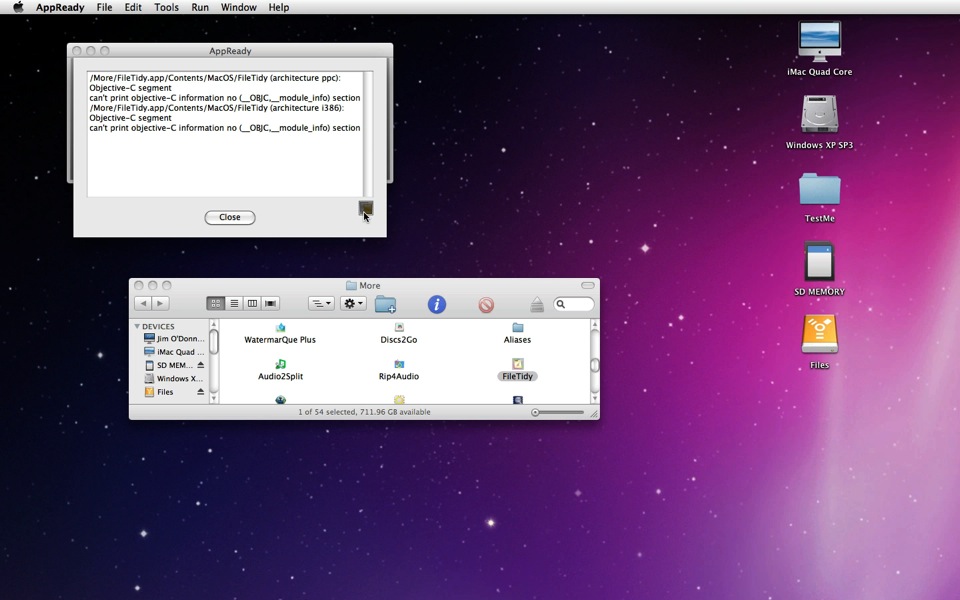
Mac App Store doesn't want applications that utilize private APIs. Even if your application doesn't utilize private APIs, the reviewer can occasionally give you a false indication that it's accessing one or more private APIs. The following is an example rejection reason.
And they ask you to produce Otool and Strings outputs from Terminal if it's a mistake. With Version 1.3 update, AppReady will let you generate these outputs.
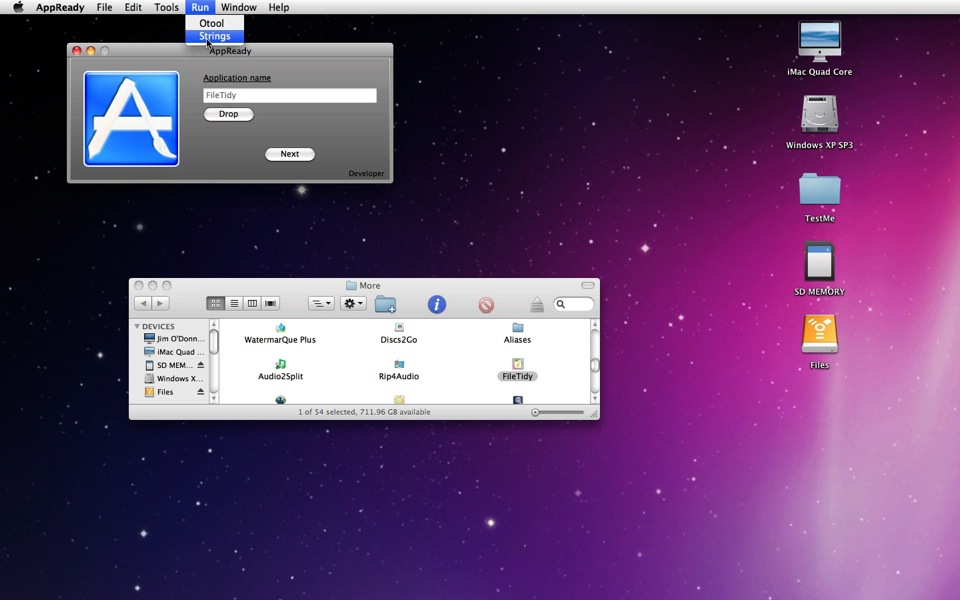
To start with, again, go back to the main screen. Then drag and drop an application icon. (See Screenshot 2-24.) If you want to generate an Otool output, choose Otool under Run. (See Screenshot 2-25.) And a small window will pop up on top of the main one. You can click on the copy button to send the output to the clipboard. (See Screenshot 2-26.) Note that Otool is run only against the main application (Contents > MacOS > application).
Likewise, if you want to product an Strings output, choose Strings under Run. Again, you can click on the copy button to send the entire output to the clipboard. (See Screenshot 28.) For example, if your application is accused of accessing __sinit, tell them that this output does not contain anything about __sinit.
|